Agastya Darma
Software EngineerTokyo, Japan
Building mobile commerce at Mercari US. Crafting high-performance, design-centric React Native apps.
Selected Work
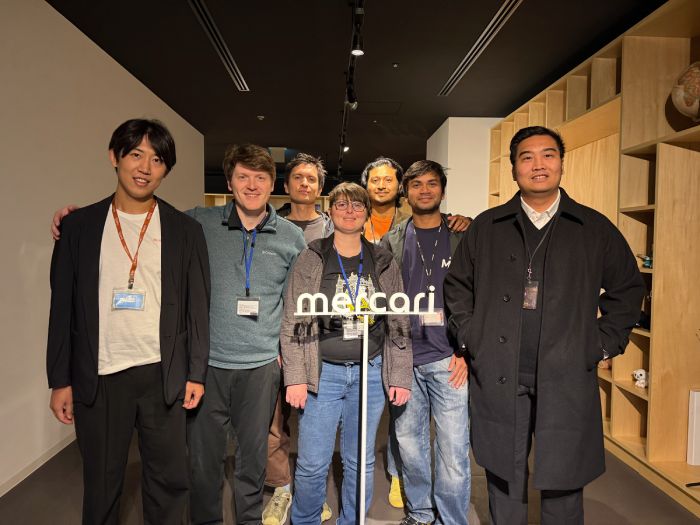
Mercari US
Designing scalable React Native architecture, establishing foundations, and driving technical decisions for high-performance mobile commerce experiences serving millions of users in the US marketplace.
Highlights


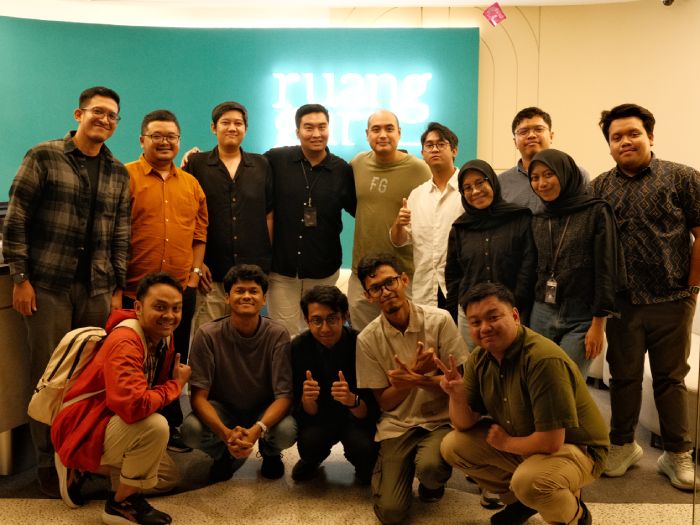
Ruangguru
Leading the Mobile Platform Team, enhancing performance and scalability of React Native hybrid and native iOS/Android apps across key products including Ruangguru (K-12 learning), Roboguru (AI tutoring), SkillAcademy, RuangKerja, and English Academy. Previously led development of universal frontend architecture with React Native and Tamagui, achieving 50% faster build times and 60% improved app startup.
Kumparan
Migrated mobile site from Redux Saga to Apollo GraphQL, created cross-platform Kumparan UI Kit for React and React Native, and rewrote mobile app with React Native, Apollo, and GraphQL. Achieved faster load times, seamless Cordova integration with zero downtime, and increased daily active users.
Developer Circle Leads
Facebook Developer Circles Program
September 2017 - November 2021
4+ yearsIn my role with the Developer Circles from Facebook program, I introduce and promote Facebook's latest APIs and core system frameworks that power the platform experiences on Facebook, Instagram, and WhatsApp. I also help developers adopt Facebook's open-source technologies such as React, React Native, and Relay. By leading workshops and community events, I ensure developers can leverage these tools to build impactful, scalable solutions.
Building for
Sustainable Impact
At Mercari, I work on technology that extends the lifecycle of goods. Every feature I build helps reduce waste and creates value in the circular economy— from Tokyo to the world.
Millions
Users Empowered
Sustainable
Tech for Good
Open Source & Writing
I believe in democratizing knowledge. I contribute to the React Native ecosystem and write technical deep-dives on performance and architecture.